Though pipes run throughout your house and drain fluids within a number of rooms, there exist common sources of odor. These unpleasant smells can be quite distracting and often be an element of discomfort within the affected room.
Fortunately, there exist a range of solutions for eliminating these odors to add freshness within your home. By following some of the below solutions, you can be sure that the stench emanating from within your pipes will be a thing of the past.
Common Smell Removal Solutions for Pipes
1 Hot Water
 Running hot water within your pipes prior to applying a deodorizing solution will work to expand the interior of the pipe and loosen much of the debris. This works well in combination with some of the below solutions by delivering an added boost to an existing chemical reaction.
2 Build Up Remover
 Often chemical cleaners can only do so much in neutralizing built up organics and bacterial within pipes. Often what is needed is a device to hook onto hair and larger debris that would otherwise stay fixed within their location. Though these product do not combat the bacteria they do their part at removing obstructions within the pipe where odorous bacteria live.
Chemical Smell Removal Solutions for Pipes
1 Pour White Vinegar
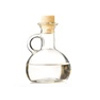 This household substance works well in combating odors by delivering a mild acid that will eat through build-up and gunk from a pipe’s interior walls. To apply, run hot water for 5 minutes prior to pouring vinegar within the pipe. Follow this step by pouring half a gallon of white vinegar down your pipe. Be sure to avoid running the water following this to allow some time for the vinegar to work it’s magic. After an hour has passed, run the water on hot for 10 minutes to wash away the last of the buildup within the pipes.
2 Baking Soda Mixture
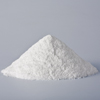 The kitchen ingredient works within a number of smelly household problems by absorbing the odor. Mix a half gallon solution of one part baking soda with ten parts hot water. Run the water on hot for 10 minutes before turning the faucet off and proceeding to pour the baking soda mixture down the pipe. Allow the baking soda solution to rest within the pipe for 2-3 hours before running the hot water again for 10 minutes.
3 Squeeze Lemon Juice
 The citrus acid within lemon juice can work well at eating through bacteria within pipes. To develop this deodorizing solution, mix one cup of lemon juice within a half gallon of hot water. Run hot water for 10 minutes prior to application before turning the faucet off, and pouring the solution down the pipe. Allow for a 3 hour break from running the faucet before running hot water for another 15 minutes.
4 Use a Enzyme Cleaner
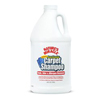 This type of cleaning and deodorizing solution works by harnessing active enzymes that literally eat through odorous organics and bacteria. Though this solution is normally used for pet related odors, it can be effective on combating unwanted smells found within pipes. Run hot water 10 minutes before application, providing 2-3 hours for the enzyme cleaner to be at rest within the pipework before running the faucet. After this time period has passed, run hot water for 15 minutes. Enzyme cleaning solutions can be found in pet stores and at most large supermarkets.
As a fun extra, I have included a Redbeacon video on how fix a leaky faucet. As many people know, this can be the source of odors in pipes:
[contact]



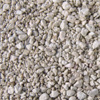 This solution works for more than your sanitizing your kittens droppings. Sprinkle a heavy amount of unused cat litter over the location of the accident. Provide 2-3 days for the solution the absorb any remaining odors before returning to vacuum the pet product from the carpeting. Be sure to vacuum thoroughly as the product can get deep down within the carpeting fiber.
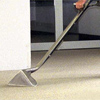 If you have not had luck with the above methods, you may consider renting a carpet cleaner to treat the wine-related odor. Carpet cleaners work well at getting deep-down within the carpeting and underlying padding to clean and deodorize spills. Also, many carpet cleaning rental locations offer enzyme cleaning solution that works within the device. This is an effective way of giving the machine an extra boost over the traditional shampoo.
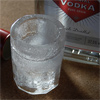 While it may sound crazy to treat a wine odor with vodka, this party drink has been used for generations within eastern europe for its deodorizing properties. The alcohol within vodka cuts through difficult odors and leaves the affected areas smelling fresh. Mix vodka and hot water within equal parts and pour within a spray bottle. Proceed to spray down the affected area of the spill and provide 3-4 hours for the solution to settle in before returning to blot dry the location.
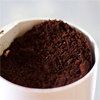 Coffee grounds can be used to absorb odors from a variety of spills. Place a paper towel over the affect area of the carpeting and pour a hefty amount of coffee grounds of the the location. Provide 2-3 days for the coffee grounds to slowly absorb the odor and replace it with the subtle aroma of morning brew. Please note: This solution is meant to treat the odor and not the spill itself. When applying this solution the affected area of the carpeting should be dry. If the area is wet, the is potential for the coffee ground to stain the underlying carpeting.

 In the great majority of cases, the smell of sulfur and other unpleasantness permeating from well water is perfectly safe and does not represent a health issue. The smell is most often the result of sulfur bacteria which occurs naturally within the ground. However, there there have been reported cases of sewage leaking into well water that can cause similar odor to sulfur bacteria. In order to be absolutely sure, you can have a sanitary test performed to record levels of coliform bacteria and nitrate within the ground water.
 When it is found that both the hot and cold water carry the same smell of sulfur, it is very likely that the sulfur bacteria has made it’s way within the the well water, water distribution center and water softener. Though the treatment of sulfur bacteria within these areas are not always easy, the following steps can be performed to ensure fresh smelling well water. 1. When sulfur bacteria is found within the well water, water distribution center or the water softener, can be treated by flushing with a strong chlorine solution. Often this is not enough, and the well may need physical scrubbing performed of the interior walls with strong cleaning solutions. 2. If the sulfur bacteria is found within the water treatment device or water softener, you should contact the manufacturer to regarding treatments for disinfecting the devices.
 If hydrogen sulfide gas exists within your ground water, there are several things that can be done to further treat the water to remove the sulfuric odor. If you are dealing with low doses of hydrogen sulfide gas, it is likely that all you will need is an activated carbon filter. If your hydrogen sulfide gas problem presents a problem of 1mg/L – 6mg/L you may need to purchase an oxidizing filter. Finally, the hydrogen sulfide gas is at a reading over 6mg/L you will need to install an oxidation-filtration system.

 After much use, beverage build-up within the thermos can develop and create an unpleasant odor. This is something that you will want to keep in check by continually scrubbing the interior walls to remove. If the build-up is particularly resistant, you may want to consider soaking the thermos in hot water and scrubbing it with the rough side of a sponge.
 Before trying the home remedies outlined below, you may find that hot dish detergent soak is all that is required to clean the thermos and remove it’s odor. Draw a bath of hot water on one side of the sink and measure 2-3 teaspoons of dish detergent to be mixed within this solution. Place the thermos with the bath and provide 1-2 hours for it to soak within the mixture. Once this time has passed, rinse thermos out, do a smell test and place it back within use.
 Similar to white vinegar, apple cider vinegar works by applying it’s natural acid to eliminate unwanted odors within the thermos. Though both forms of vinegar yield a similar result, apple cider vinegar is significantly more expensive than white vinegar. To apply this solution, fill the thermos up with one part apple cider vinegar and ten parts hot water. Proceed to seal the lid of the thermos and provide a long waiting time of 5-6 hours for the apple cider vinegar to produce it’s results. Once this time has passed, pour the contents out and rinse the thermos out.
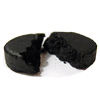 If all else has failed and you have plenty of time on your hands, you can use activated charcoal to absorb the remain odor from your thermos. Begin by smashing a single briquette of activated charcoal into a powdery substance. Proceed by pouring the contents within the thermos and filling the remaining space with hot water before sealing the lid. Once sealed, provide 2-3 days for the activated charcoal to absorb any remaining smells from the interior of the thermos. Once this period of time has passed, pour out the contents and give the interior of the thermos a detergent soap wash. It is recommended that you proceed at your own risk with this solution, as it could lead to some discoloration within the interior of the thermos.
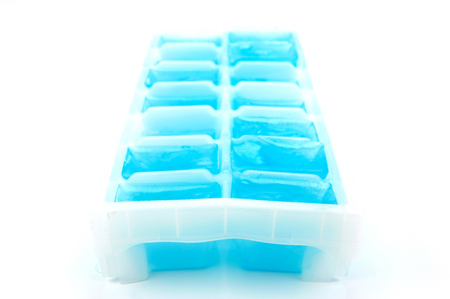

 Using rubbing alcohol can work well on short notice. Similar to vodka, this solution relies on alcohol to quickly neutralize any freezer odors and retune the tray to normal. Soak a small rag with rubbing alcohol and proceed to wipe down the ice cube tray. Pay close attention to whip all areas within the ice cube molds to ensure that the areas become sterile and deodorized. Once every crevasse has been wiped, allow 5 minutes for drying before giving the tray a steady rinse under the sink. Once complete, place the ice cube tray back within use.
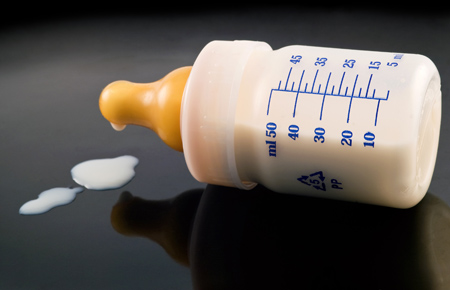

 Coffee in the form of ground and drink can be used to solve a number of household odor problems. Make a small pot of decaffeinated coffee and pour within the top of the baby bottle seal the top, and allow for the bottle to sit for 1-2 hours. Once this time has passed, pour out the decaffeinated coffee and rinse out the bottle before refilling with your baby’s milk.
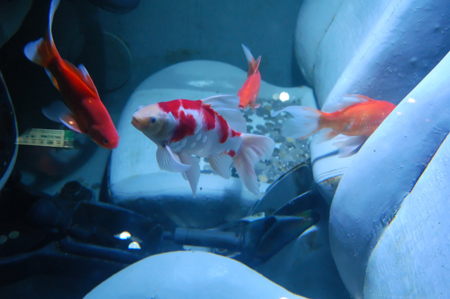

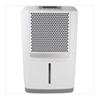 If blot drying leaves remaining moisture within hard-to-reach locations, you can rent a dehumidifier and run it within the confines of your car. These tools are excellent at removing moisture from confined spaces and maintaining an inhospitable environment for mildew. As a note of caution, be sure to read the instructions of your particle dehumidifier before running within your automobile.
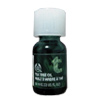 This slightly more expensive alternative works in the same fashion as white vinegar. Tea tree oil also carries anti-fungal properties and works well in eliminating the mildew at the source. As an additional benefit, many believe that this substance will leave less odor within the car during the drying process than using a solution of white vinegar. To use, mix a solution of one part tea tree oil with ten parts water within a spray bottle. Once created, spray down all affected areas of the carpeting, upholstery and padding with a heavy coat of of this mixture. To speed the drying process, crack the windows of the car for 2-3 days proceeding this step.
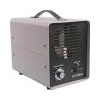 When all efforts seem to be coming up short, a ozone machine can be rented to neutralize and contain any mildew odors that may be lingering within the automobile. These devices are very powerful and effective, but can be deadly if improperly used. Be sure that you have read the product’s instructions in full before using this solution to eliminate odors within the automobile.
 If you are short on time or if your personal efforts are not effective, you may want to consider taking your car to professional auto cleaners. These people can be very helpful in breaking down the source of the mildew odor within your car and returning the freshness within the interior of the automobile.

 Once the contaminants have been cleared out, you can work in absorbing any of the remaining smells out of the freezer. Stuffing the freezer with crumpled newspaper dipped within vanilla extract is a popular way to remove the odor. Fill a small saucer with vanilla extract and lightly dip the edges of crumpled newspaper into the solution, and place within the freezer. Once the freezer has been filled, close the door and allow 2-3 days for the paper to absorb the unwanted fish odor and replace it with subtle aroma of vanilla extract.
 If placing the freezer outside is an option, doing so will do much in deodorizing the enclosed space. The open space, fresh air and even ultra violet rays of the sun have the effect of neutralizing organic fish related odors and freshening enclosed space. To apply this method, flip freezer face up outside, and open the door so that ultraviolet rays can make their way within. So long as the days remain sunny, leave the freezer like this for 2-3 days before returning to bring the freezer back within the house. As a note of precaution, place a tarp under the freezer while it is outside to prevent dirt and other material from making it’s way within the coils and working parts of the appliance.

 This is a rather simplistic solution which can be effective in most cases of mildew growth within a car. When driving the car, be sure to turn on the air conditioner on full power to ensure that the AC ventilation and interior of the car dries out any remaining moisture that mildew can live from. When not driving the car, be sure to park the car in direct sunlight with the window cracked to allow for additional evaporation of moisture.
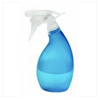 A homemade anti-mildew spray can be created from apple cider vinegar, tea tree oil or grape seed extract mixed with water and a small portion of dish detergent. Mix 4 teaspoon spoon of apple cider vinegar, tea tree oil or grape seed extract, with a half teaspoon of dish detergent and 3 cups of water within a household spray bottle. Once created, spray down the affected areas of the automobile, ensuring that they are sufficiently covered within the solution. As a final step, ensure that windows are cracked to provide for a faster drying timetable. Although all three options are antifungal, apple cider vinegar is far less expensive than opting to use either tea tree oil or grape seed extract.

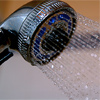 It is important to wash the mat once you get home to avoid the build up of sweat and skin cells from attracting odorous bacteria which could cause the mat to smell. Though time is often tight, a quick rinse off within the shower can go a long ways in maintaining a fresh smelling yoga mat.
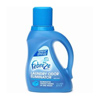 Though many people resist running their mats through the washing machine for fear of damaging their mats, little harm can become of doing so in most cases. When buying your mat be sure to inquire whether they are machine washable, as most yoga mats are capable of being put through a washing cycle. To make an added impact on the wash cycle, use Febreze washing machine detergent to combat odors as well as sanitizing the mat. Though many mats can be cleaned at any setting, wash within a gentile cold cycle if you have any concerns.
 Grape seed extract is another natural compound which contains antiviral, antibacterial and antifungal properties. Mix one part grape seed extract with 12 part water within a generic spray bottle and proceed to spray down the entire outside of the mat. Once performed, hang the yoga mat outside in direct sunlight for 24-48 hours.