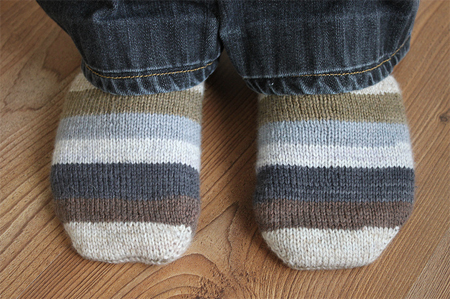
As a barrier between feet and shoes, it goes without saying that socks often bare the brunt of foot-related odors. As such, the sharp stink can become infused within synthetic, cotton or wool socks can present a challenge to clean and deodorize.
Fortunately, there are a range of household solutions that can work to cut through the foot related bacteria within the socks, and free them of this unwelcome aroma. The following solutions will help to ensure that any sock of any material can be freshened and smell like new.
Smell Removal Solutions for Socks
1 Baking Soda Addition
 Using baking soda within the washing machine is a simple deodorizing solution that can be added into any normal detergent wash. Place the socks within the washing machine, and allow for the machine to become filled with water before adding in a half cup of baking soda. The odor absorbent capabilities of baking soda will work to absorb much of the unwanted footy funk to leave the your socks smelling fresh.
2 Cup of White Vinegar
 As an alternative to baking soda, white vinegar can be added into a normal detergent wash of socks to remove any unpleasant foot-related odor. Measure a full cup of white vinegar and pour it into the washing machine along with a scoop of detergent and any sock that are in need of freshening. Upon the cycle’s completion, the the odor within the sock should be gone and replace with the subtle aroma of white vinegar. Fortunately, this vinegar smell will go away as soon as the sock have completely dried.
3 Cup of Bleach (white socks only)
 The use of bleach can be an effective alternative to baking soda and white vinegar for eliminate odors within white socks. Similar to the other compounds, start the washing cycle with the detergent and smelly white sock and allow water to rise before adding in a full cup of bleach. During the cycle, the bleach will work to cut through the bacteria that is causing the sharp odor within the socks.
4 Soak in Hydrogen Peroxide (best for white socks)
 If the smells are especially bad they can be soaked within a highly concentrated mixture of hydrogen peroxide. Mix a solution of one part hydrogen peroxide with 4 parts warm water within an appropriate sized bucket. Proceed to submerge the smelly socks within the mixture and allow for them to soak for 1-2 hours. After this time has passed, the socks can be removed and placed through a normal detergent wash. This solution works best with white socks as minor bleaching may occur with colored ones.
5 Soak in Enzyme Cleaner
 As a final soaking solution for extremely smelly colored socks, active enzymes can be used to literally eat through the odorous foot residues within the sock fiber. Mix a solution of enzyme cleaning solution and water in equal parts within a bucket and submerge the smelly socks within the solution. Allow for the sock to soak for 2-3 hours before removing and placing them through a normal detergent wash.
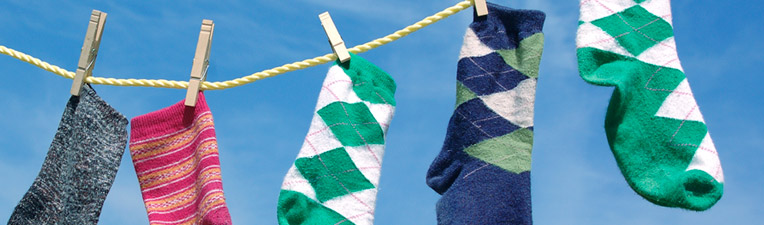
Photo credit: fletcherjcm
[contact]
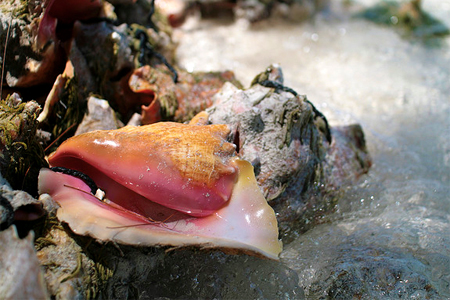
 This is an unconventional method, but many people swear by it’s effectiveness. Fin a location within the yard where many bugs or ant congregate. Out of all possible areas, ant hills are the most idea location. Place the conch shell down on the ground and leave it there for 3-4 weeks. During this time, ants and other scavenger bugs will go to work in cleaning meaty bits and residues out of the conch shell. Upon completion of this time period, bring the shell in the home and wash it.
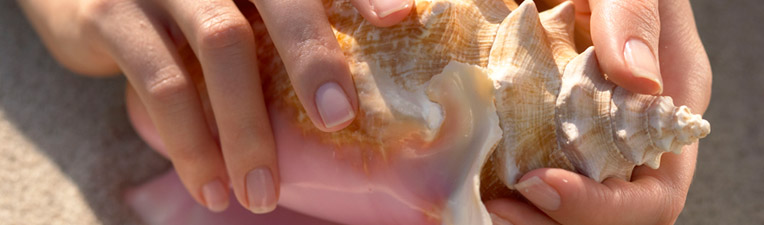
 In a similar function to boiling, freezing will also kill the bacteria and loosen any organic bits within the shell. The cold temperature of the freezer has the effect of killing the bacteria due to it’s inability to survive in such cold temperatures. Place the smelly conch shell within a sealed trash bag and place this bag within the freezer. Allow for it to remain within the freezer for 2-3 days before retrieving it and removing the shell from the bag to air outside within the yard.
 Using this method requires several months to deodorize, but it remains an effective solution. Find a nice dirt spot within the yard and dig a 2 foot deep hole. Place the conch shell in the hole and fill the dirt in behind it. Additionally, it’s important place a small stake in the dirt to serve as a reminder of where the conch shell is buried. Allow the conch shell to rest in the dirt for 3-4 months before returning to dig it out. As a final precaution, be careful not to chip the shell with a shovel while digging it up.
 This powerful form of household alcohol can work to kill all of the bacteria that may be living off the microbial organics within the conch shell. Fill a large bucket with one part rubbing alcohol to four parts water and proceed to submerge the conch shell within the mixture. Allow the conch shell to soak within the solution for 24 to 48 hours before removing the shell and preforming a thorough rinse of it.
 As a final solution, you can simply decide that you are going to wait the smell out. You can do this by placing the shell in the most remote corner of your property and provide 1-2 months for the organic bits to naturally dry out and decompose.
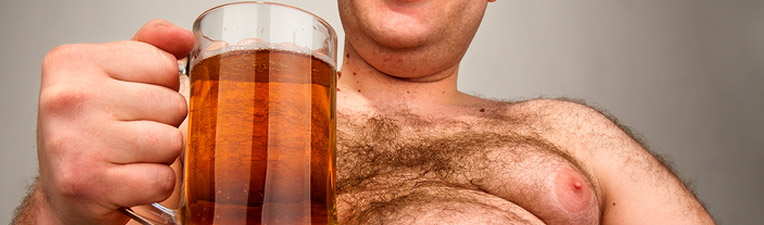
 As soon as a beer has been spilled it is important to act fast. You will want to try to remove the beer odor within the first 3-6 hours that it has contacted the couch while the scent of alcoholic beverage is very low. After 24-48 hours, the beer can spoil and develop into a rather awful stench that can be a challenge to clean and deodorize.
  As your first official action you will want to lift the affected cushions from the couch and move them to a clean surface outside for treatment. This will ensure that the beer does not make its way within the crack or creases of the couch. Next, you will need to blot dry the cushion with dry clean towel. While blotting be sure to place your entire body weight behind the towel to ensure that the maximum amount of moisture is drawn out of the cushion. It may seem counter intuitive, but you will want to pour water the affected area of the cushioning and blot dry again. This will help to water down the spot and pull even more beer residue from the cushion.
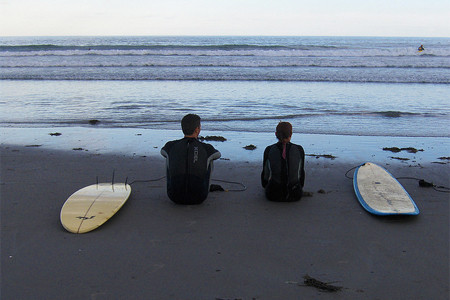

 In many cases, you can effectively prevent a wetsuit odor from developing by rinsing it with fresh water after spending time within the ocean. Usually a hose within the backyard will work best for washing alway all of the odorous residues.
 As another option, you can go home within the wetsuit and immediately jump within the shower. This will allow you to apply body soap to the neoprene and strip the suit off within an environment where it is sure to get clean. As a not of precaution, you will want to make sure to wash away all soap residues before hanging it to dry within a shaded location. As a precaution, avoid taking a hot or warm shower while you have the wetsuit on as this can lead to harmful stiffening effects within the neoprene.
 It may feel great to pee within the suit during a surfing session, however the resulting ammonia odor will almost always make you regret it. If the deed must be dude, make sure that you will continue to reside within the ocean for 20-30 minutes for the urine chemicals to diffuse within the sea.
 After washing the ocean residue away, proceed to hang the wetsuits inside out while air drying them within a cool dry location. Doing this will allow for of the bodily odors that may have developed within the wetsuit to air out and be lifted off during the evaporation process.
 It is important that the wetsuit is hung in within a location where it will be sure to to receive a steady flow of cool air where it will be able to dry quickly. It is important that the wetsuits don’t remain moist of too long, as this can lead to rotting and the development of mildew within the neoprene.
 In cases where common body soap is not being effective at lifting the odor, specialty soap from your local surf shop will work well at eliminating the embedded odor. These specialty soaps are often more gentle on the neoprene and are more effective at eliminating odors within the wetsuits.
 These deadly trio must be avoided at all cost. If the dry neoprene is left within the sun it can quickly age and begin to crack. Additionally harsh cleaning chemicals like bleach can have the effect of eating away at the wetsuit material and cause unwanted damage. Finally, hot water can lead to unwanted stiffening of the neoprene fiber.
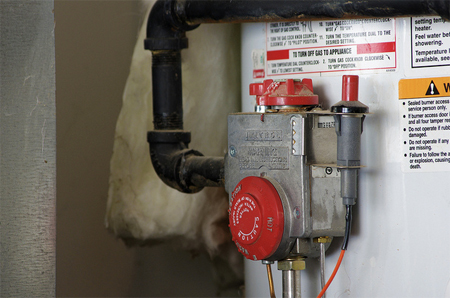
 Initially, you will want to check the anode to see if it has been compromised or become corroded. If it has, you may be required to replace it to cut down on the production of bacteria. While selecting a new anode to replace the corroded one, it is better to buy a aluminum or zinc one that will lead to a lower production of bacterial creation within the water heater. If you can help it, avoid replacing your anode with a magnesium one as these often break down at a faster rate.
 As a final solution, the temperature of the water heater can be raise to a level in which hot water will not be able to survive. To perform this task, the water heater must reach 160 degrees Fahrenheit or 71 degrees Celsius for 3-6 hours. Doing this on a regular basis should have the effect of keeping bacteria levels down and maintaining fresh smelling water.
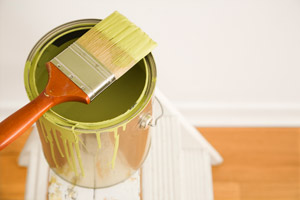
 This method may sound strange, but it has successfully been used for generations to remove the effects of paint odor. Begin by cutting a full onion into four parts and placing each piece within a bowl. Next, fill these bowls with a cup of water and place the bowls around the piece of furniture that smells of paint. Allow the bowls to sit for 2-3 days surrounding the object while it works to absorb all unwanted odors. Once this time has passed, perform a smell test to ensure that the smell has passed and then remove the bowls.
 Once of the most effective ways to eliminate the paint odor is to move the piece of furniture outside within the sun. The ultra violet rays will go to work in neutralizing the stench of the paint odor, while the fresh air and open space will gently lift any residual chemical scent. You will need to place the piece of furniture within a location of the yard where it will be sure to receive a minimum of 8 hours of direct sunlight. If any odor remains after the first day, you can try putting the furniture outside within the sun for a second or third day until no paint scent remains within it.
 Similar to onions, oranges do very well at absorbing paint odors within furniture. Unpeel two oranges and take apart all of the wedges within each of them. Place the detached remains of each within two separate bowls and then place these bowls on either side of the piece of furniture. Allow the orange filled bowls to sit for 48 hours before returning to the piece of furniture to smell it and remove the bowls.
 If the furniture is a desk or chest of drawers, this solution can be very effective at removing difficult odors from enclosed spaces. Begin by filling a small saucer with vanilla extract and crumpling up several balls of newspaper. Take each ball and lightly dip the edged with the solution before proceeding to place these balls within the draws and enclosed spaces. After closing the drawers and spaces, allow the newspaper wads to sit for 24-48 before returning to remove them from the freshened space. The newspaper works to absorb the paint odor while the vanilla will have masked any remaining smell with its own subtle scent.
  If nothing has been worked, you can try applying another coat of clear sealing paint over the piece of furniture that is emitting the paint smell. This will help to lock any smell from the original paint within and prevent it from smelling up the room. Because this option can be rather time consuming, it is recommended that you only use this as a last resort.
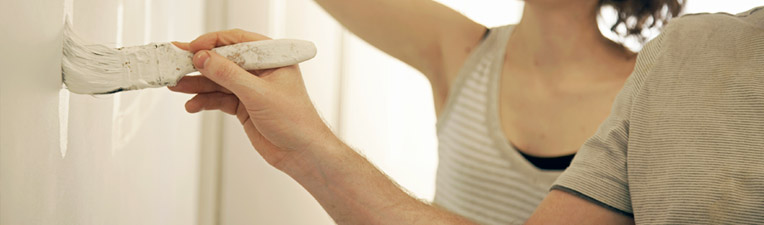
 If you anticipate that a paint will smell, you can take one small but effective step to ensure that it does not smell. Simply measure one teaspoon of vanilla extract for each gallon of paint and thoroughly mix the ingredient in before use. The vanilla extract will work to neutralize the paint related odor and ensure that it does not contain an odor.
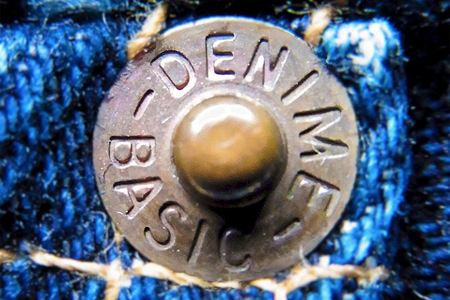
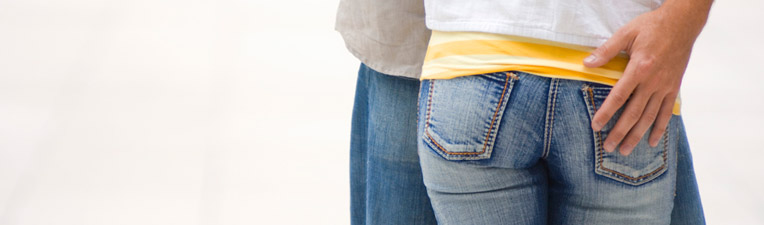
 Washing the denim a single time is often not enough to lift out difficult body odors and chemical stenches. If at first you were not successful in lifting these odors from a single washing machine cycle, you may be have better luck by putting it through a second detergent wash cycle.
 Similar to the enzyme solution, Oxiclean can have a powerful effect on the denim fiber prior to running the stinky fabric through a detergent wash. Mix a solution of Oxiclean within a large bucket, add the denim and provide 3-4 hours for the solution to have a deodorizing effect. Once complete, you will want to finalize the treatment of the denim by running t through a normal detergent wash.
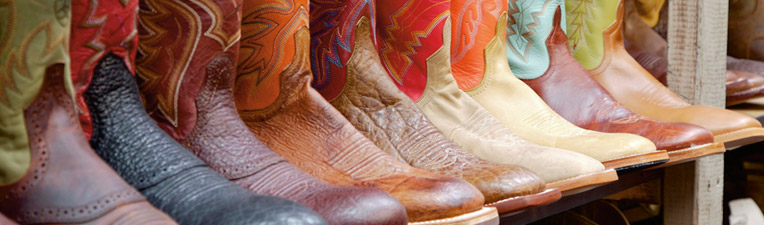
 In a similar methodology to baking soda, using cat litter for deodorizing the interior of the boots can work great for absorption. Measure a quarter cup of cat litter for each boot and pour within each boot nightly. In the morning the cat litter can be poured out of the boots and back into a cup for reuse on a nightly basis until the smell has been fully absorbed and eliminated.
 If you have the time, activated charcoal inserts can work in absorbing difficult odors from the cowboy boot interiors over the course of of weeks. To construct homemade inserts, find a old pair of nylons and cut the leggings into two. Fill each legging with 3-4 briquettes of activated charcoal and proceed to tie knots to enclose them within the socking. Place these nylon enclosed charcoal briquettes within the interior of the cowboy boots and apply them nightly until they have effectively freshened the boots.
 Use of leather-safe enzyme cleaner can work wonders on eliminating odors within the interior of cowboy boots. Spray this deodorizing solution within the interior and proceed to stuff wadded newspaper deep down within them. Allow the contents to sit for 24-48 hours as the newspaper draws in the stench and the enzyme cleaner eats through the odorous organic content within them. Upon completion, remove the newspaper wads and place them within the sun for the day to air dry.
 As a final solution, specialty leather soap can have a fantastic deodorizing effect on the cowboy boot’s surface and interiors. Apply it to the affected surfaces and provide the need time for the leather soap to naturally air dry. For best result, combine this cleaner with one of the other solutions outlined above.
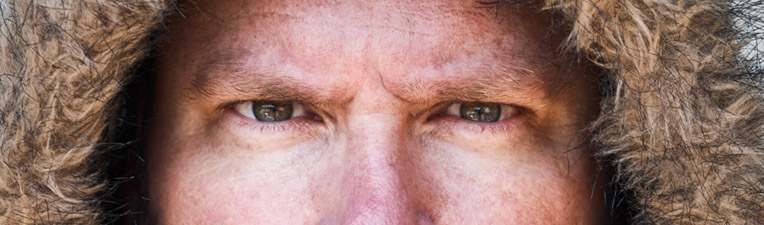
 The citric acid within this solution can have the positive effect of cutting through difficult odors within a fur hat. Mix a solution of one part lemon juice with ten parts water within a generic spray bottle and proceed to mist down the fur hat. Upon spraying it down, proceed to place the fur hat outside within the shade until dry. It is important not to sun dry the hat after using lemon juice because the combination could lead to minor bleaching of the fur.
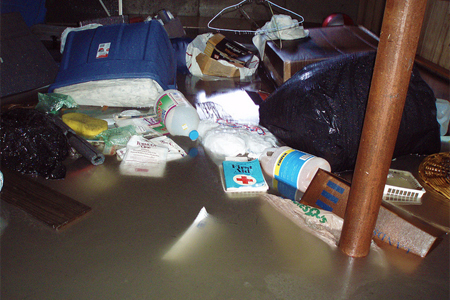
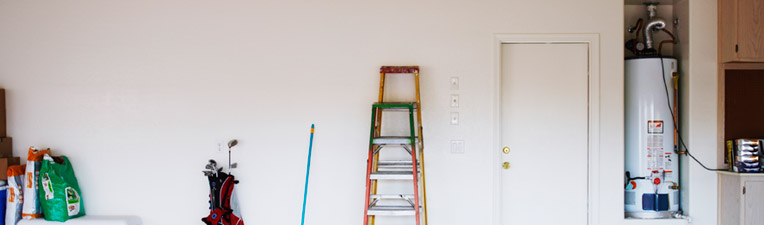
 As a preliminary step, you will need to fix any water pipe leaks or water passages into the basement and drain the water out. In most cities, professional services can be hired to perform the task of pumping out all of the water level found within the basement’s space.
 If you notice that the basement might need something a bit more substantial than area fan to properly dry out the space, you may want to consider buy a dehumidifier. This machines will work to pull all of the available moisture out of the space and make it very difficult for mildew to grow within the space.
 If a mildew odor remains after everything within the basement has been properly treated and dried out, you may want to consider renting an ozone machine. These machines are highly effective but also require precaution during their use. It is extremely important not to be with the space it is treating as it can be deadly within extreme cases.